Teams
Teams allow you to easily add groups of people to a project at once — like a business unit, a department or a workgroup.
This means that the members in that team will also be given the same privileges. This also means that if you remove someone from the team, they will no longer be able to access the project.
Create a team
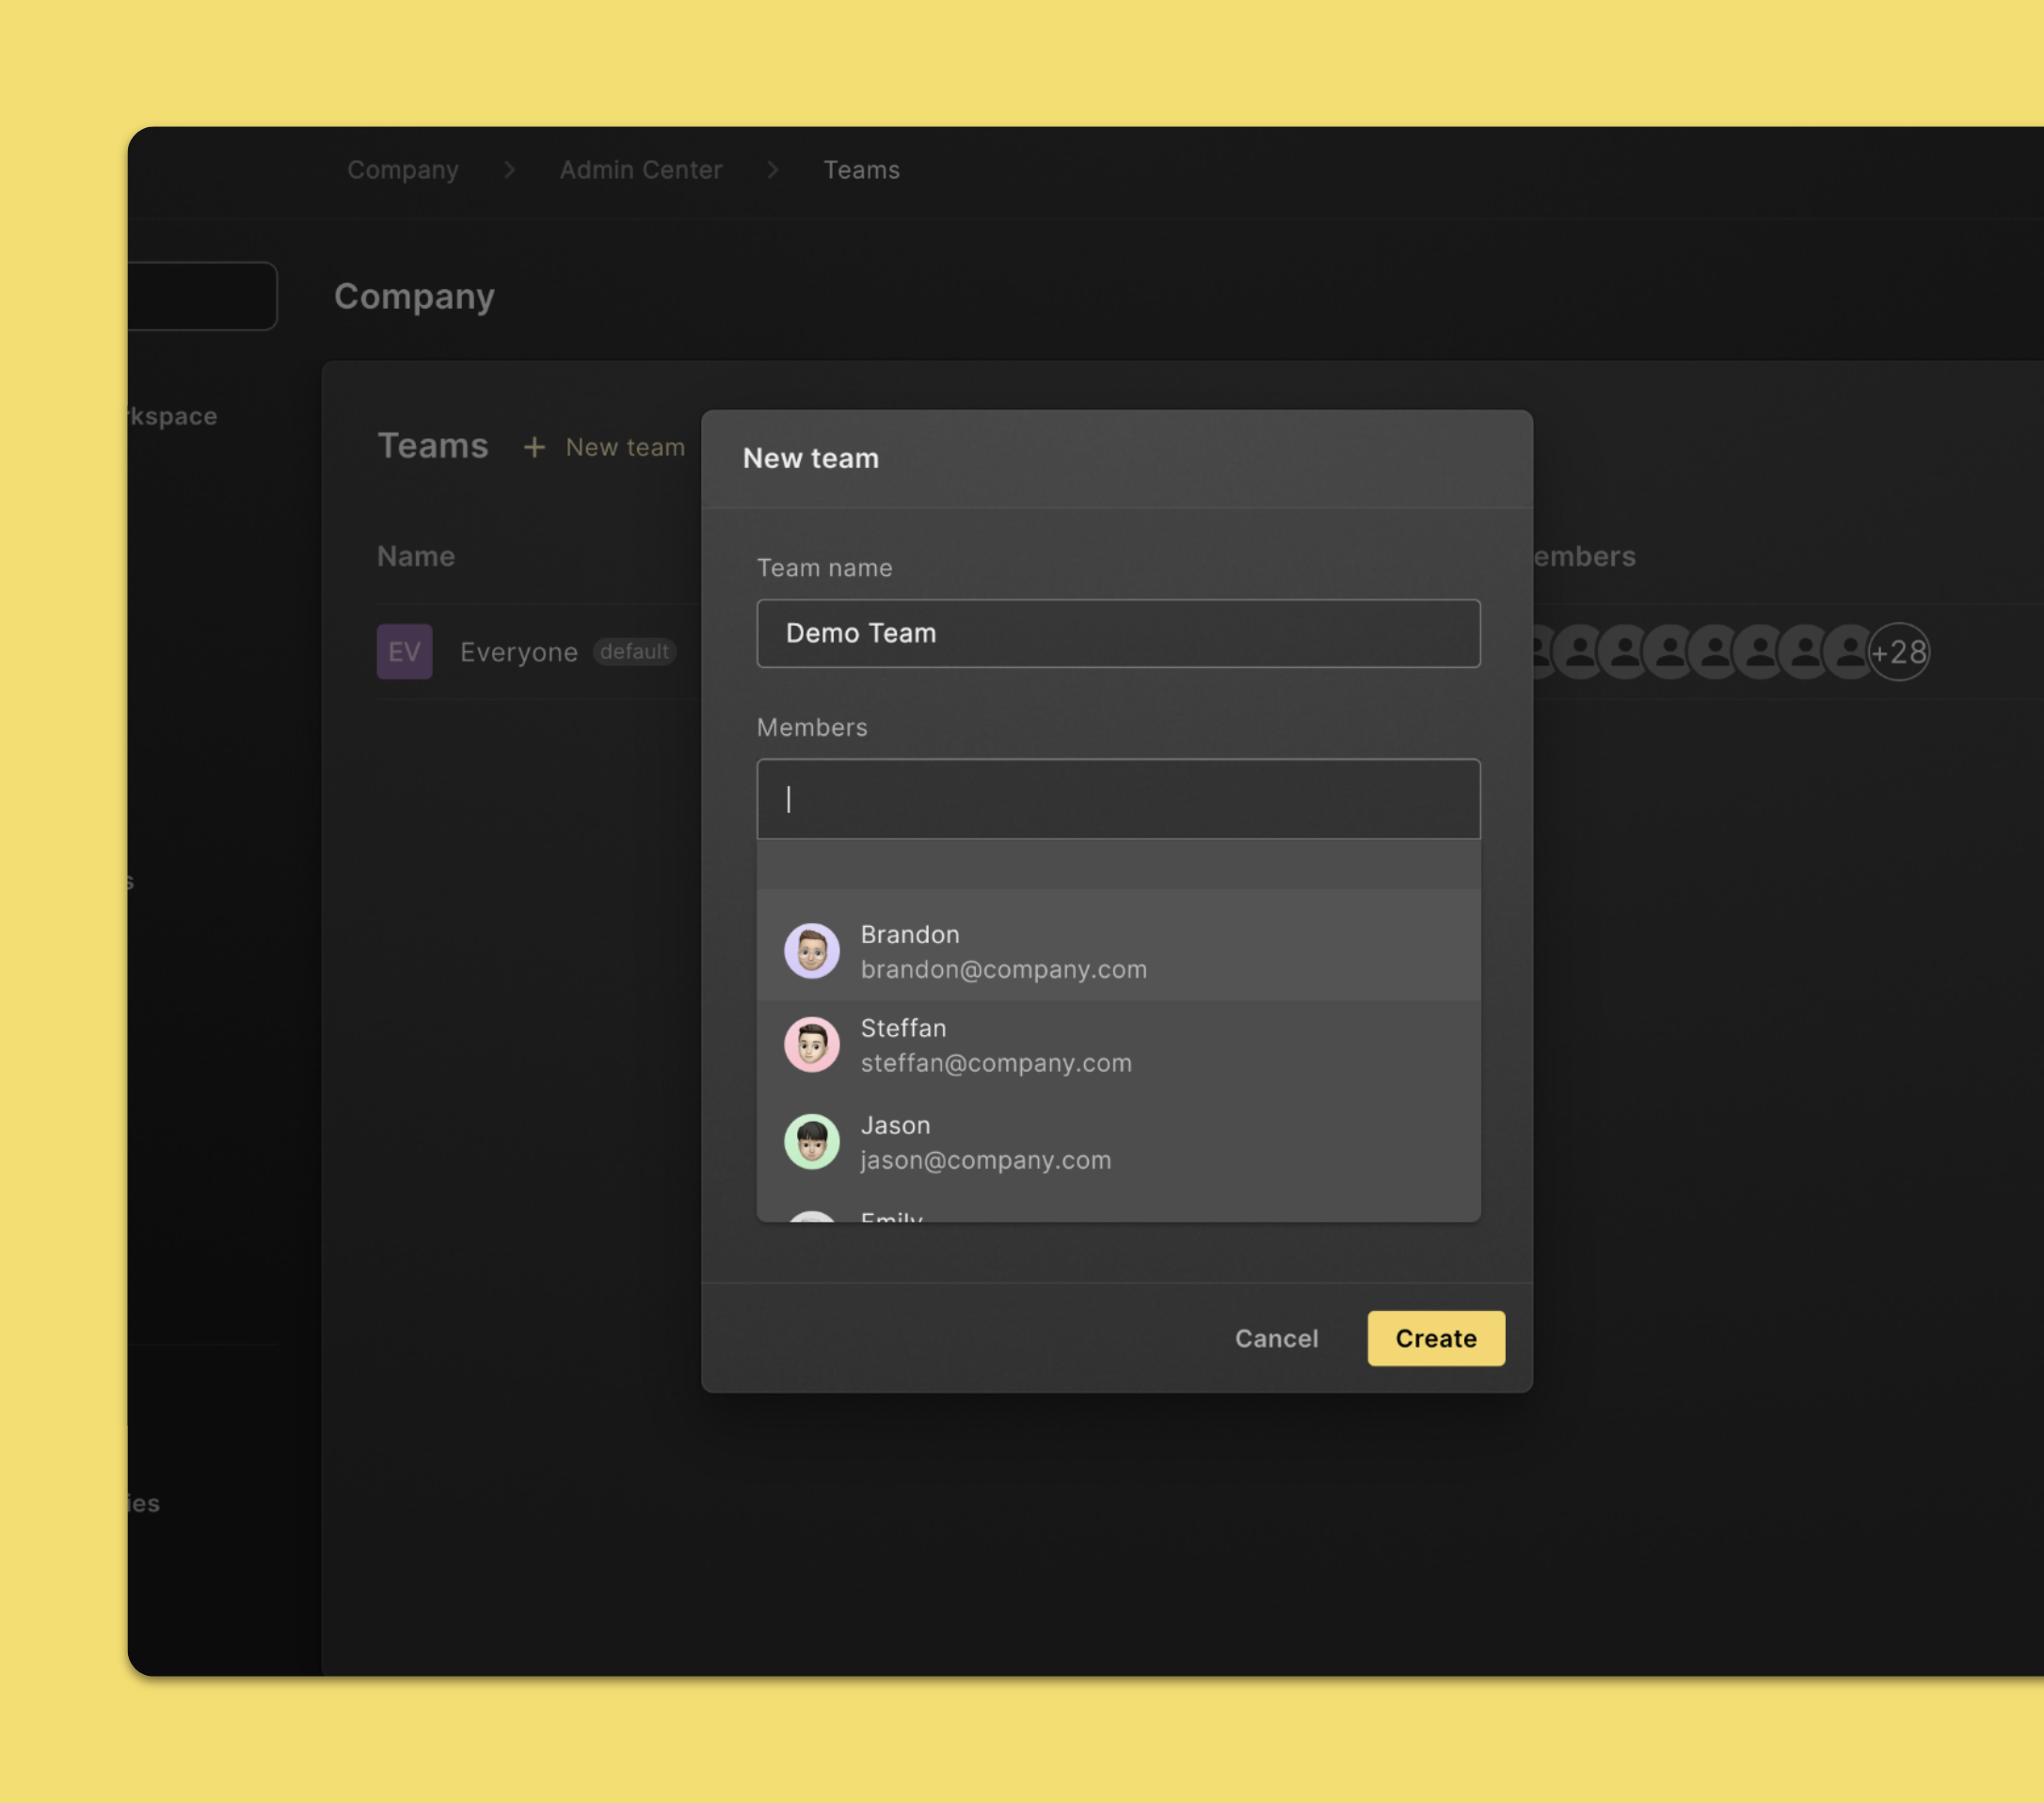
- Click Admin Center in the left navigation sidebar.
- Click Teams in the left navigation sidebar.
- Click New team in the top section of the page.
- Enter the name of your new team.
- Select members by typing and clicking on workspace members.
- Click Create to create your new team.
Manage team members
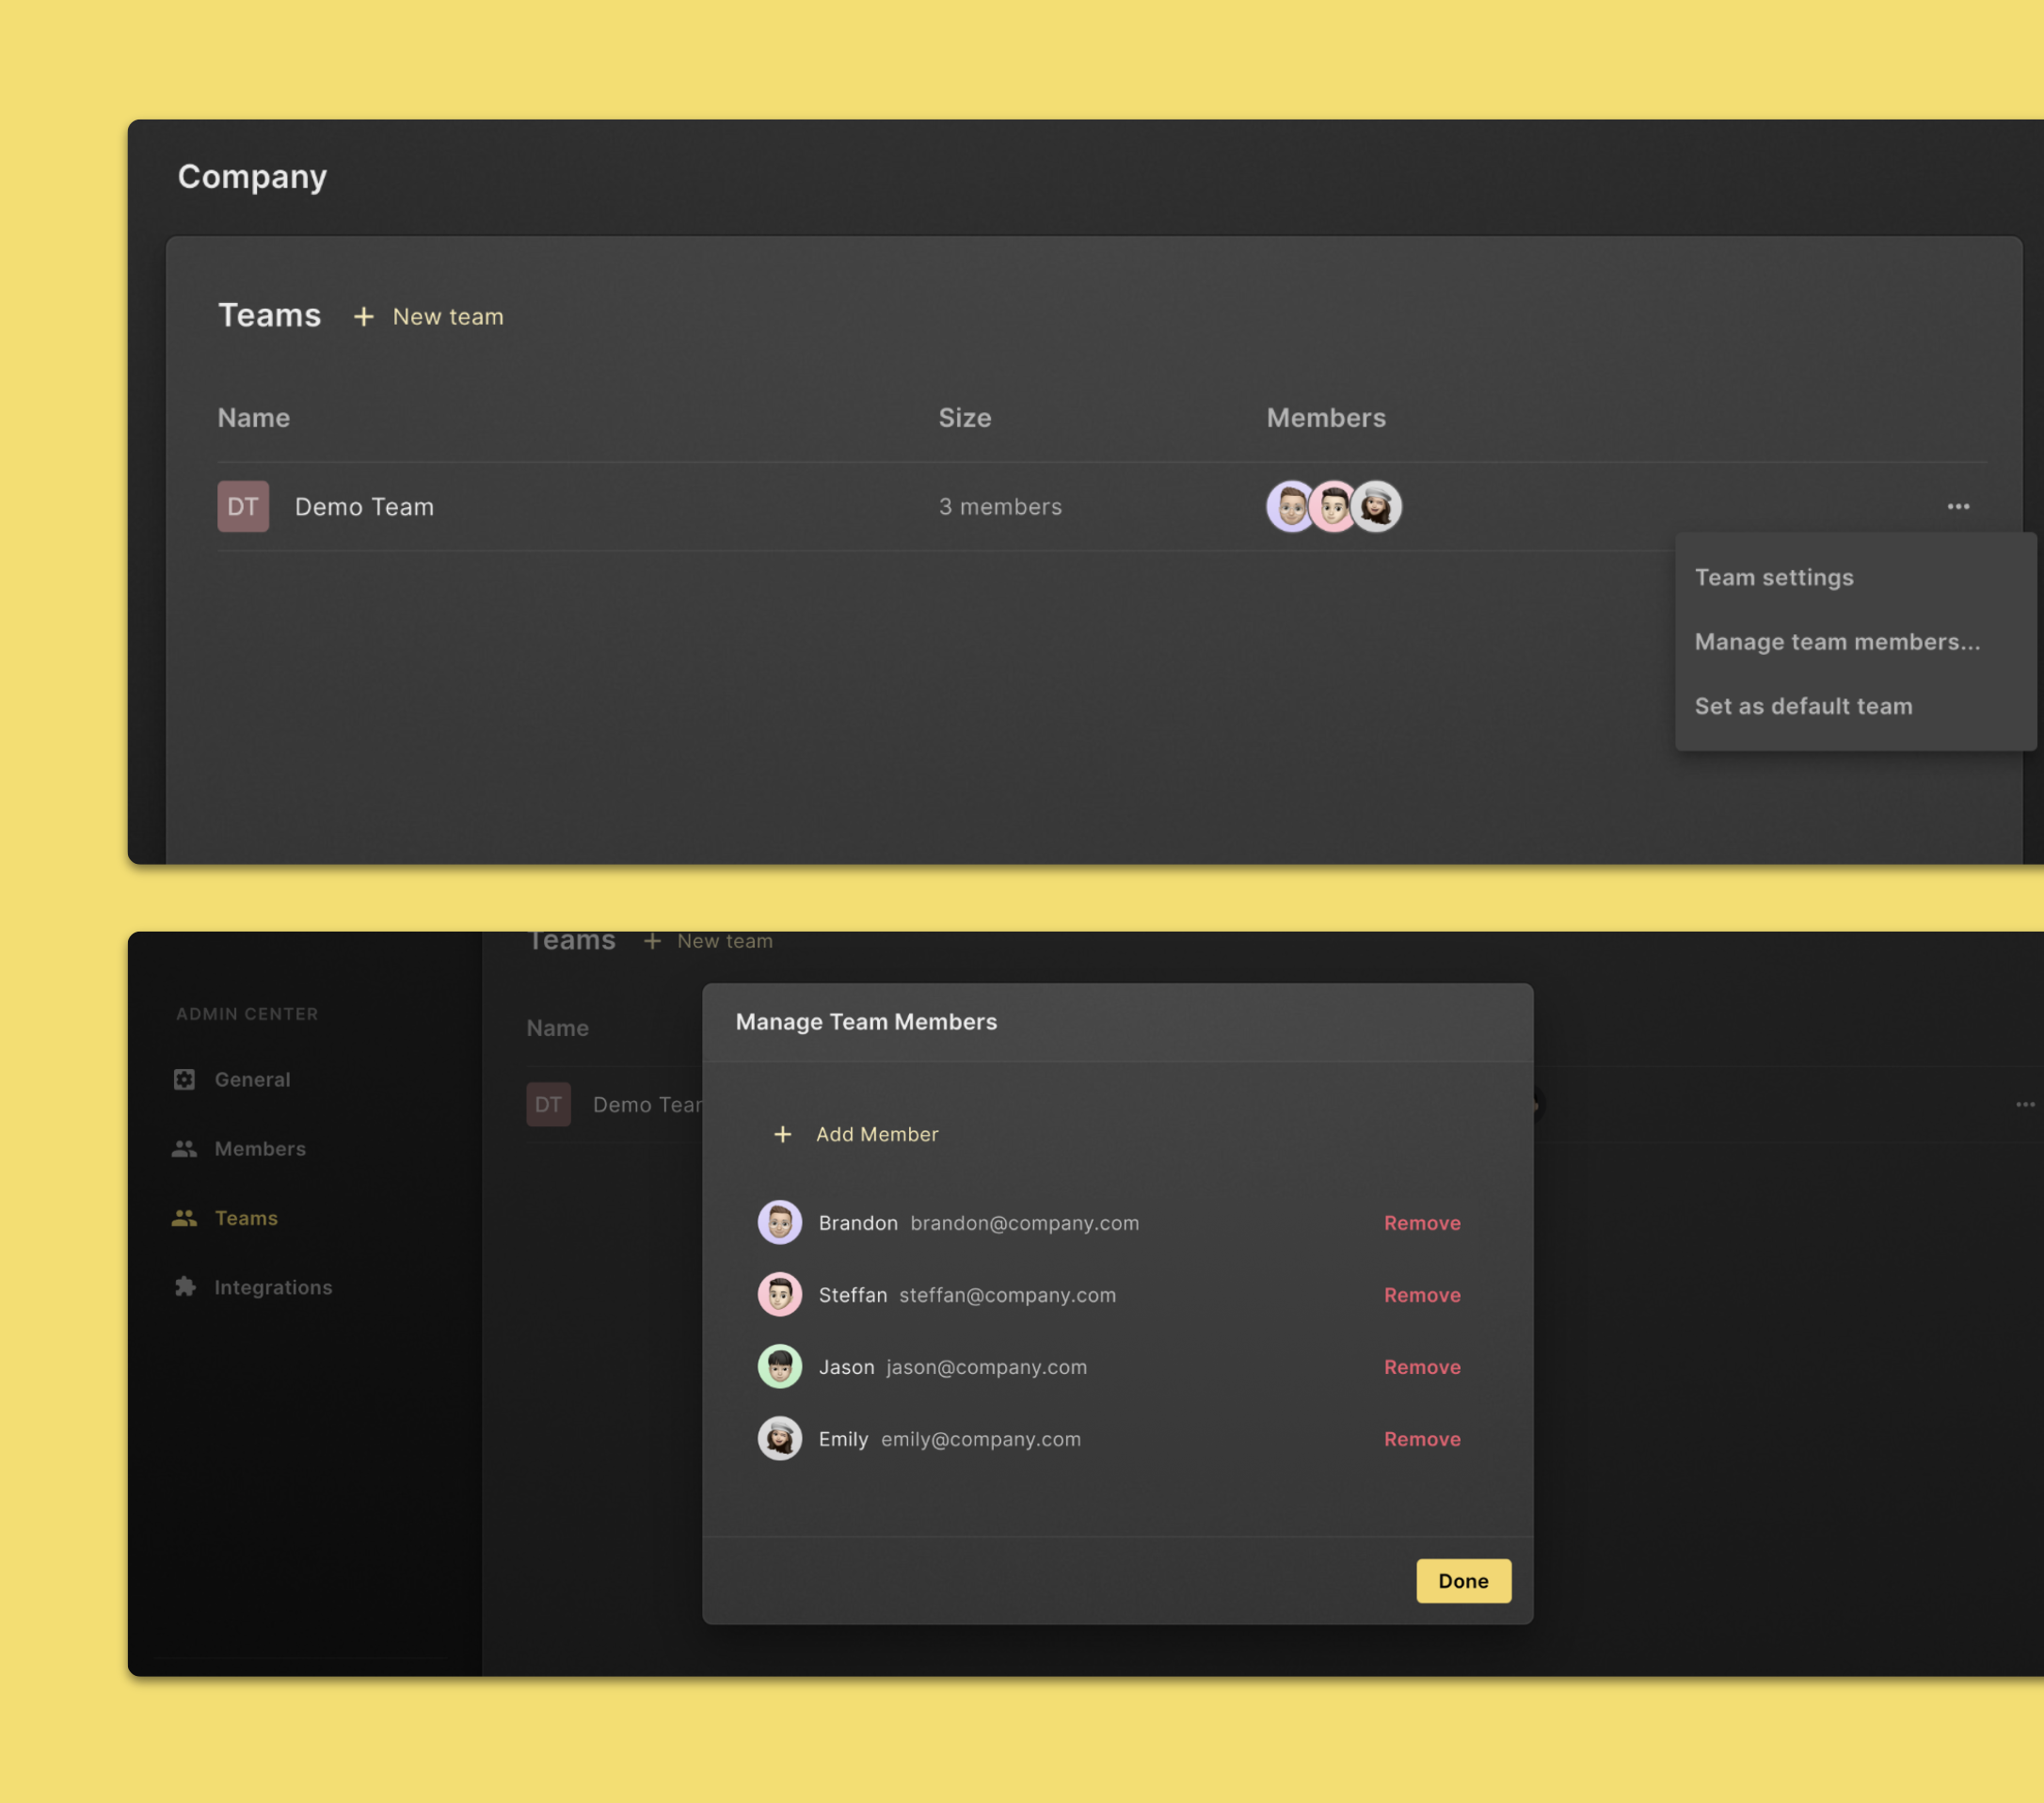
- Click Admin Center in the left navigation sidebar.
- Click Teams in the left navigation sidebar.
- Click on the … icon next to the team you want to edit.
- Click Manage team members.
- To add a new team member click Add member on top. To remove a team member click Remove.
- Click on the Done button to finish.
Set as team default
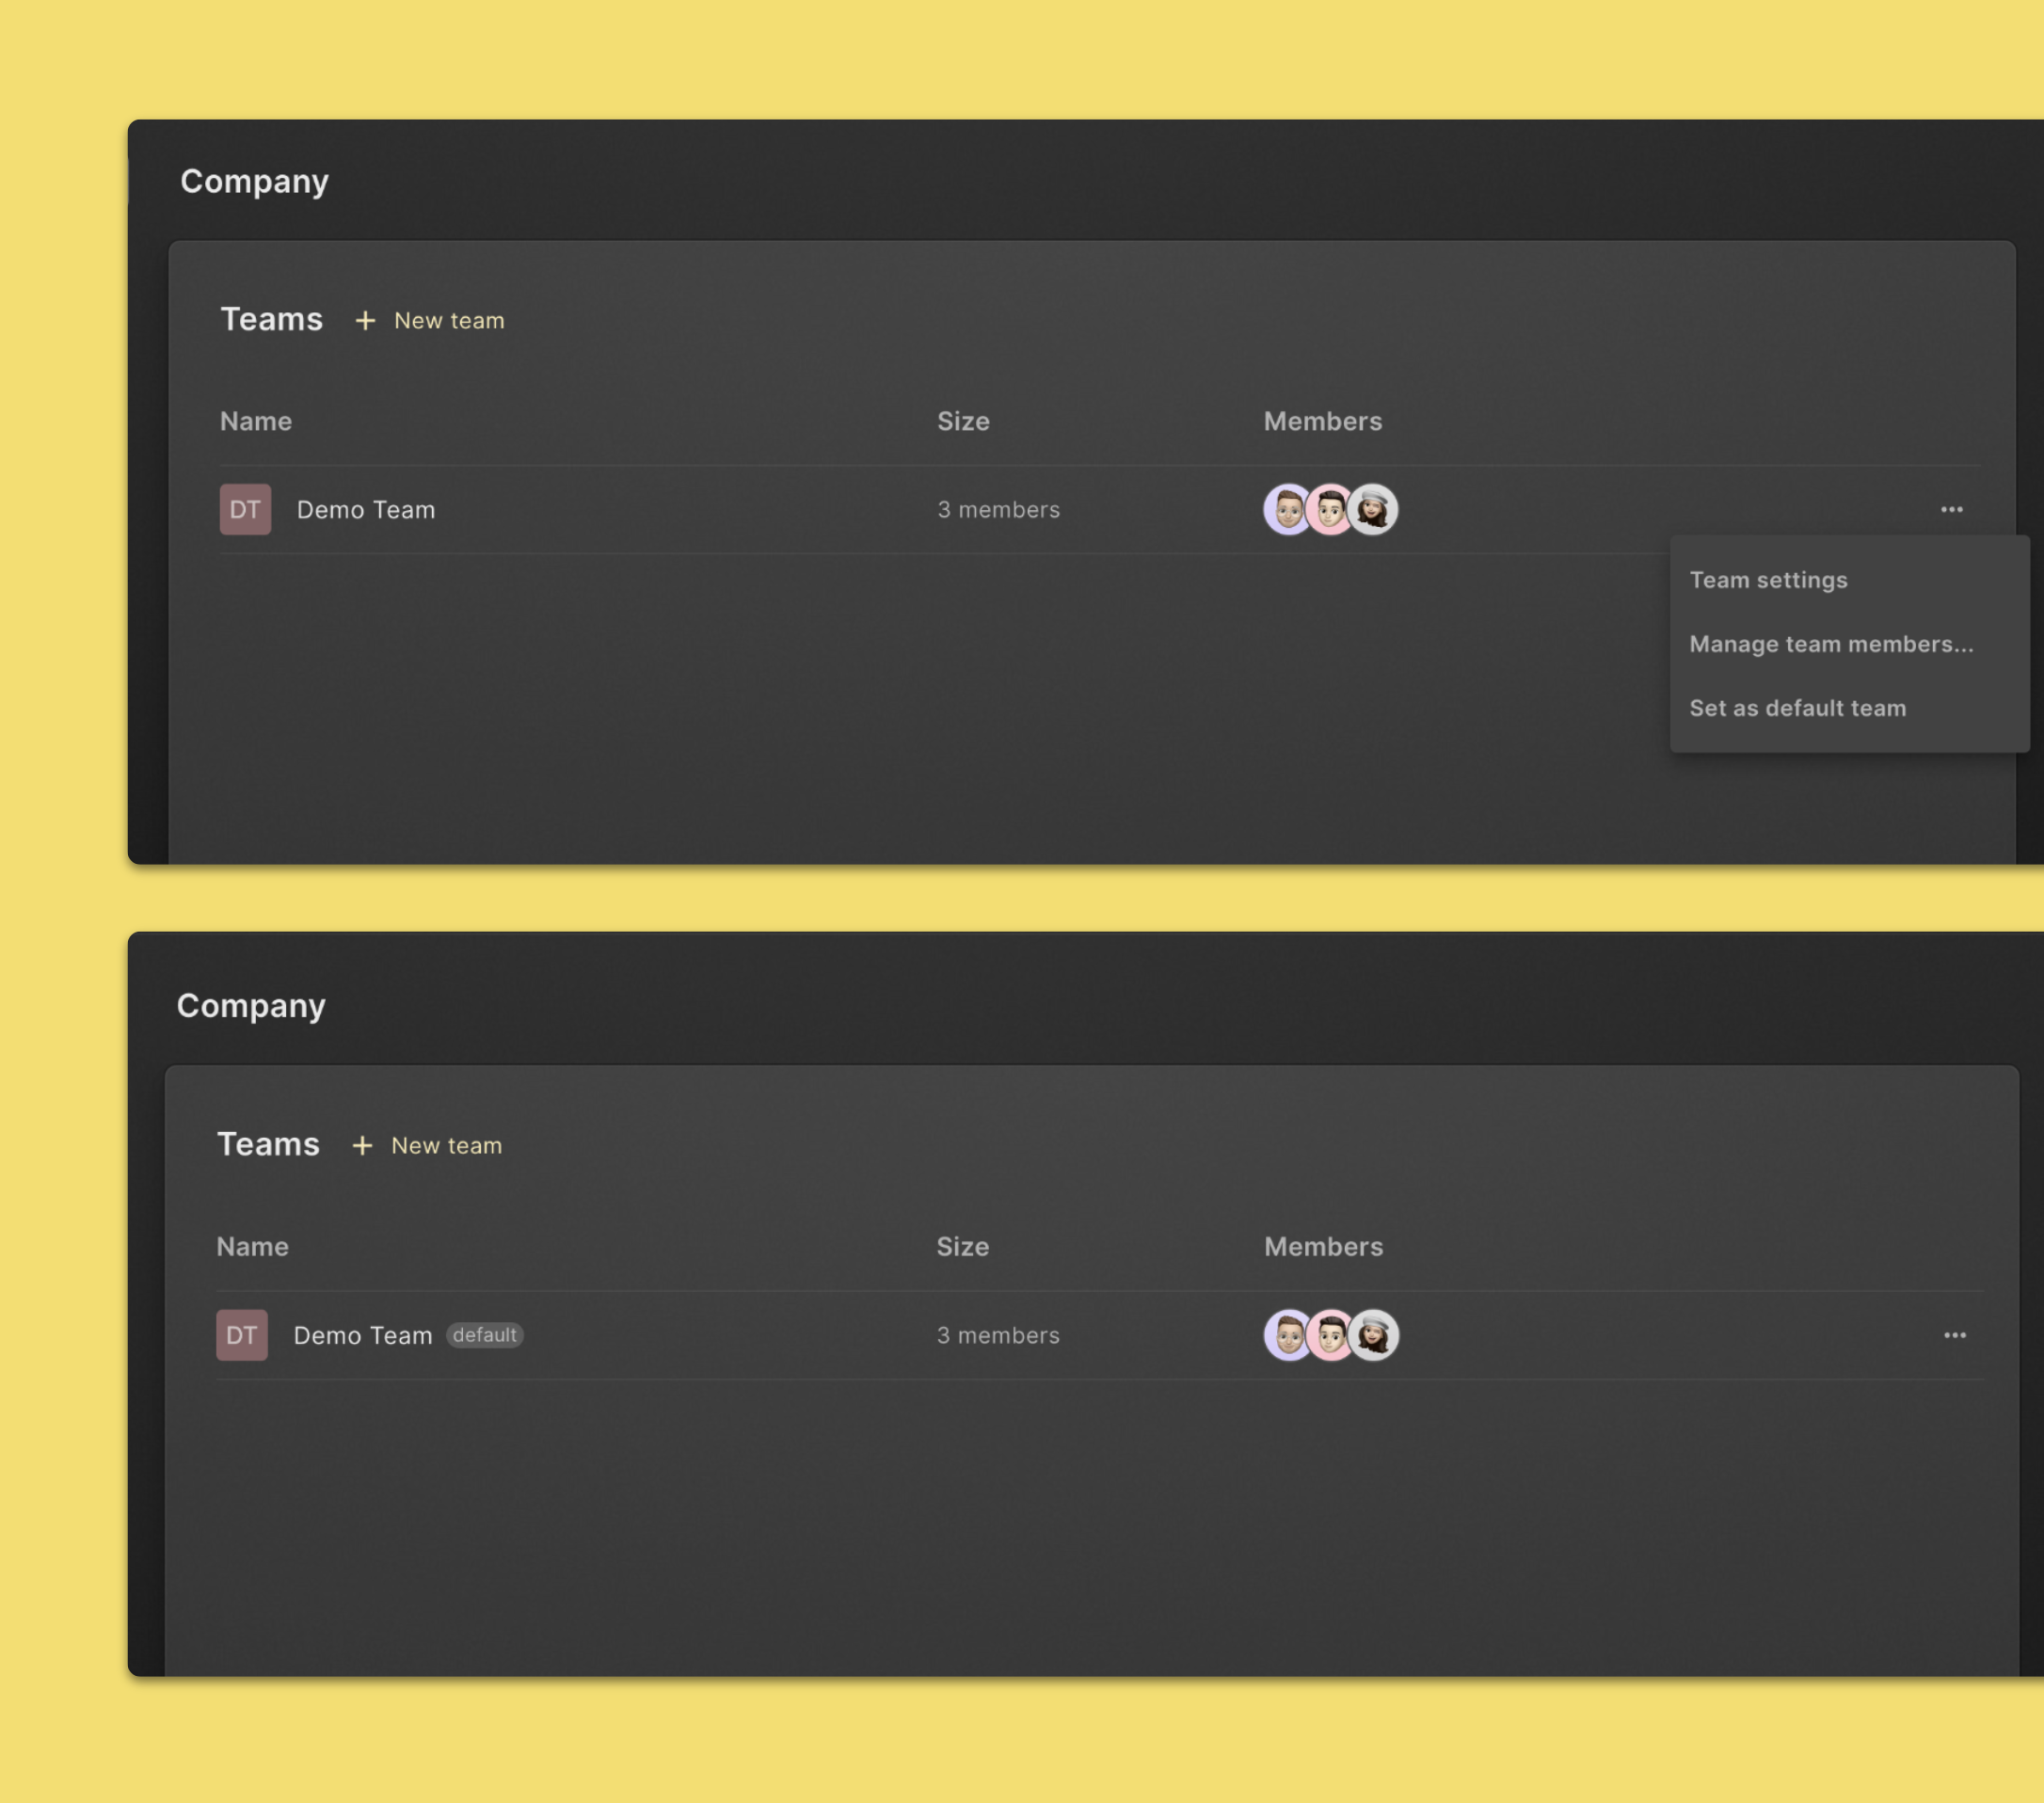
- Click Admin Center in the left navigation sidebar.
- Click Teams in the left navigation sidebar.
- Click on the … icon next to the team you want to edit.
- Click Set as default team.
Rename a Team
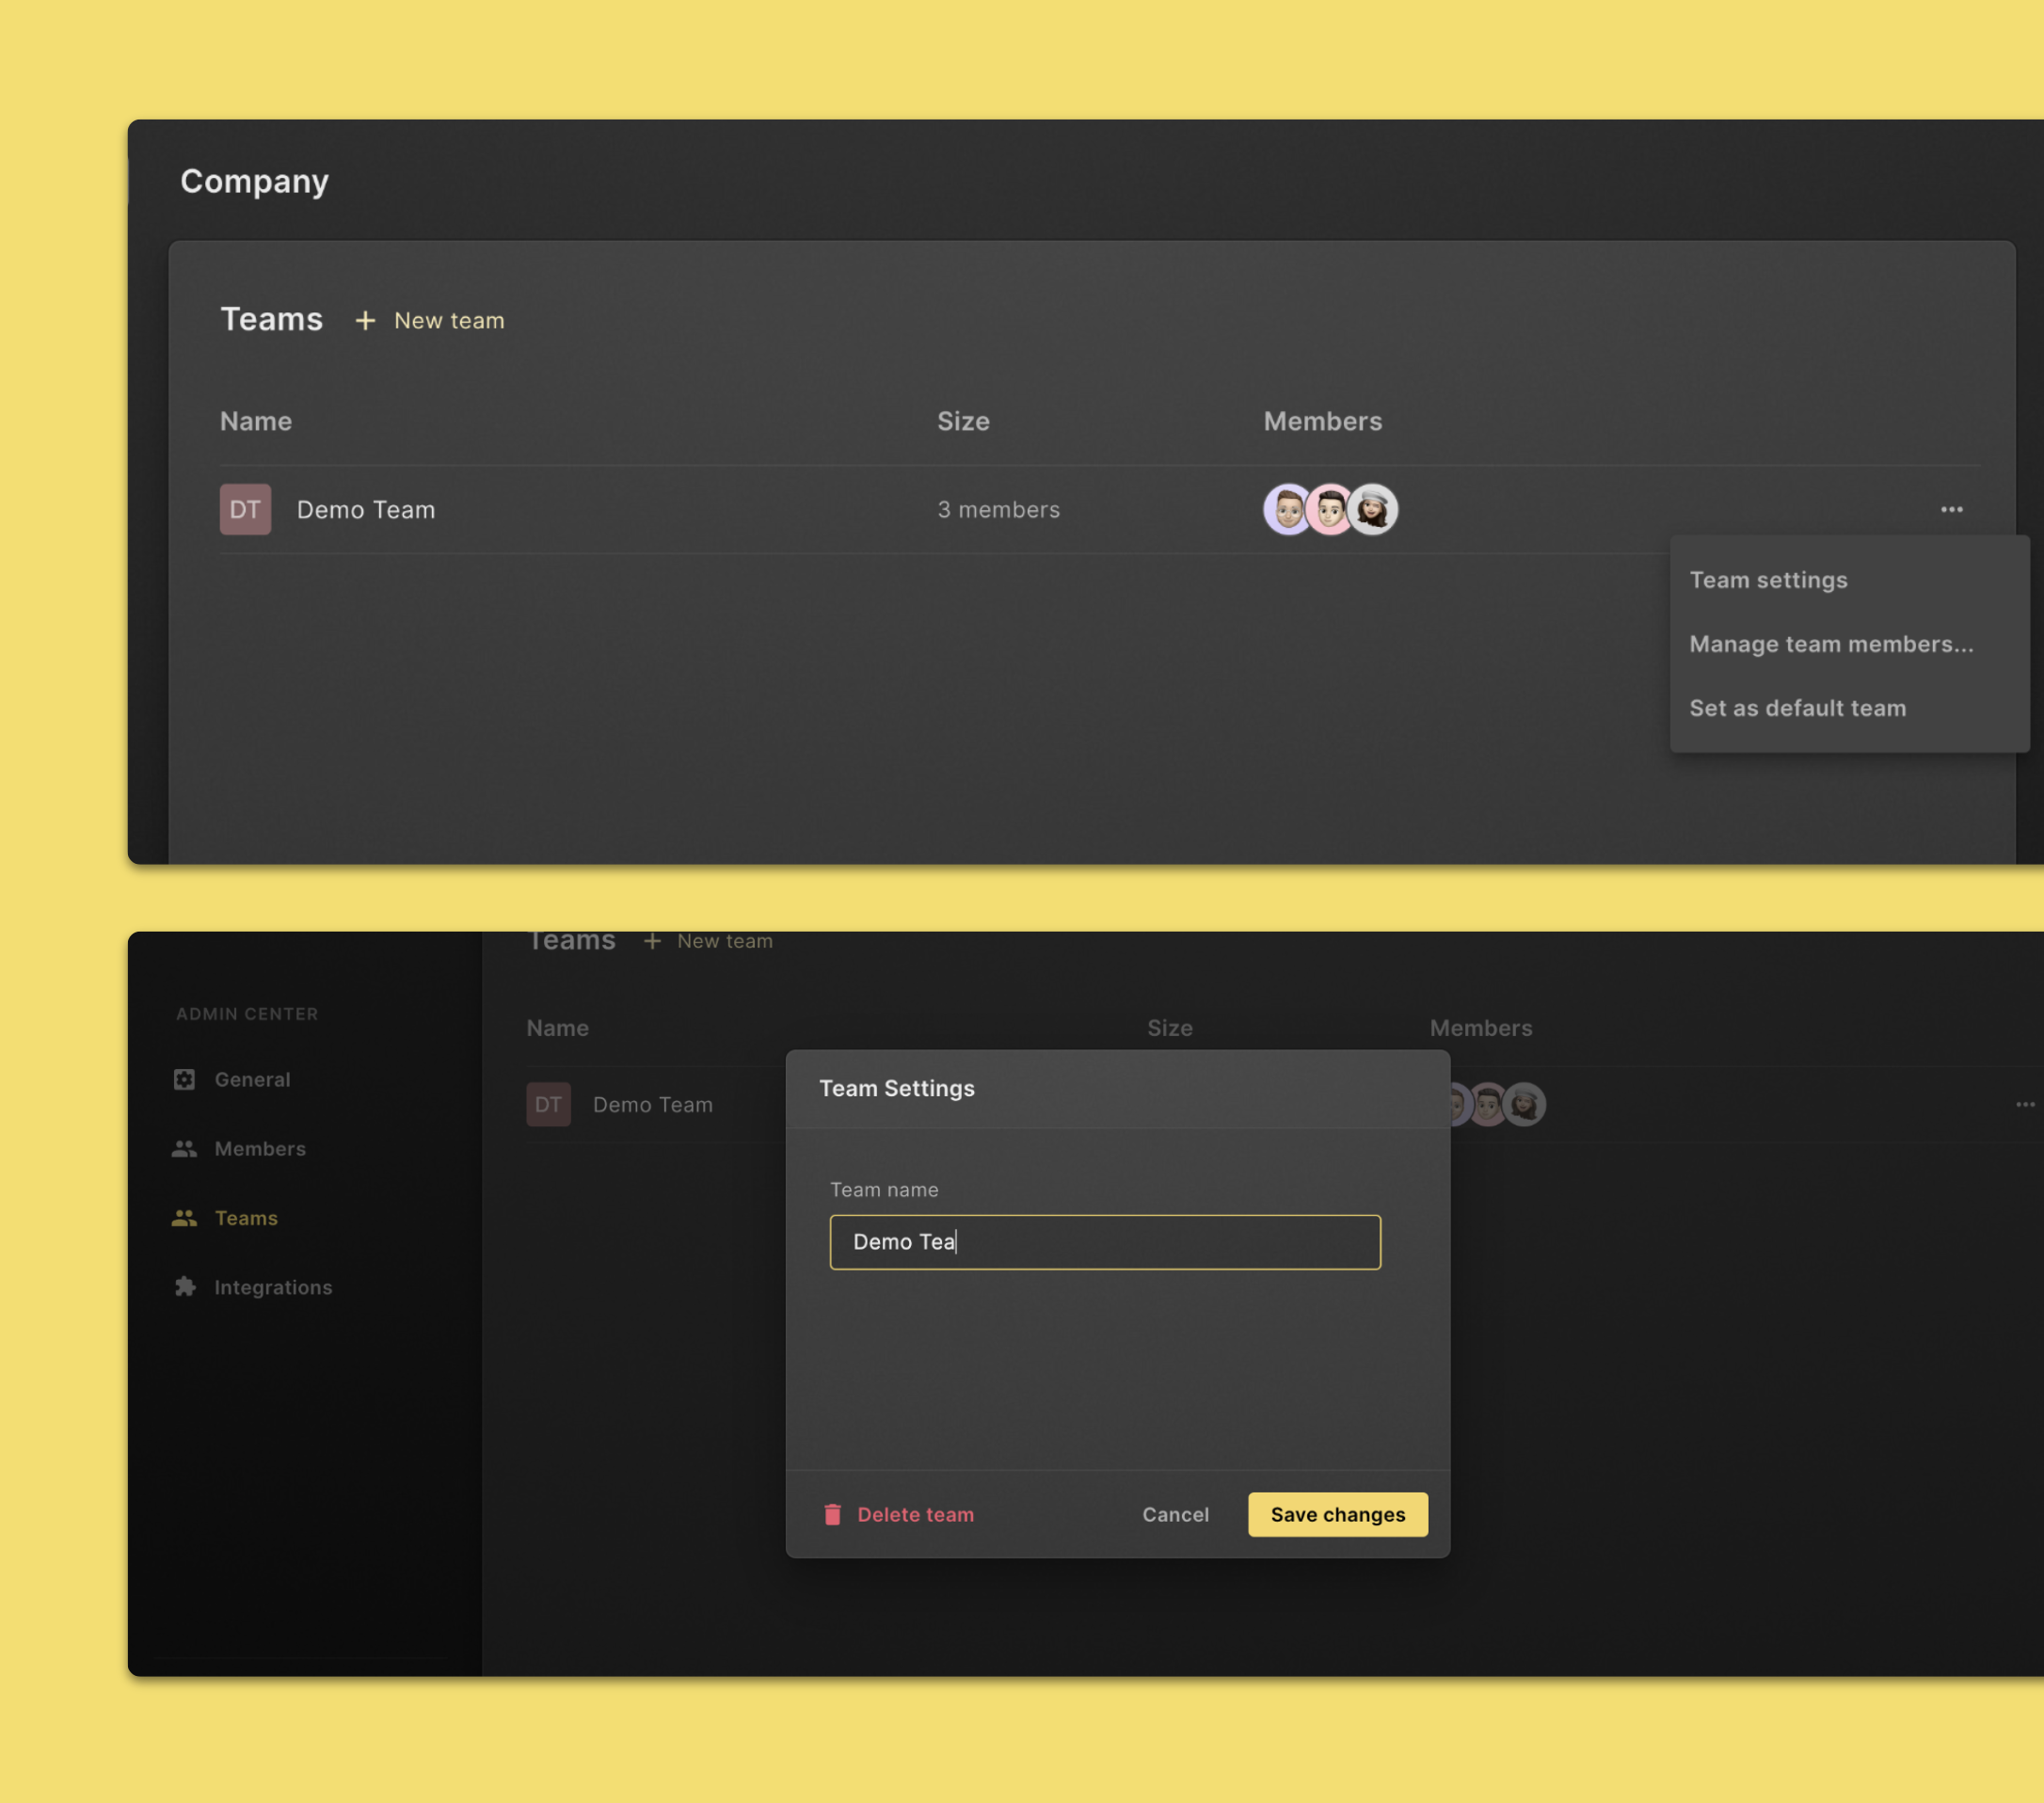
- Click Admin Center in the left navigation sidebar.
- Click Teams in the left navigation sidebar.
- Click on the … icon next to the team you want to edit.
- Click Team settings.
- Rename the team in the Team name input field.
- Click on the Save changes button to finish.
Delete a Team
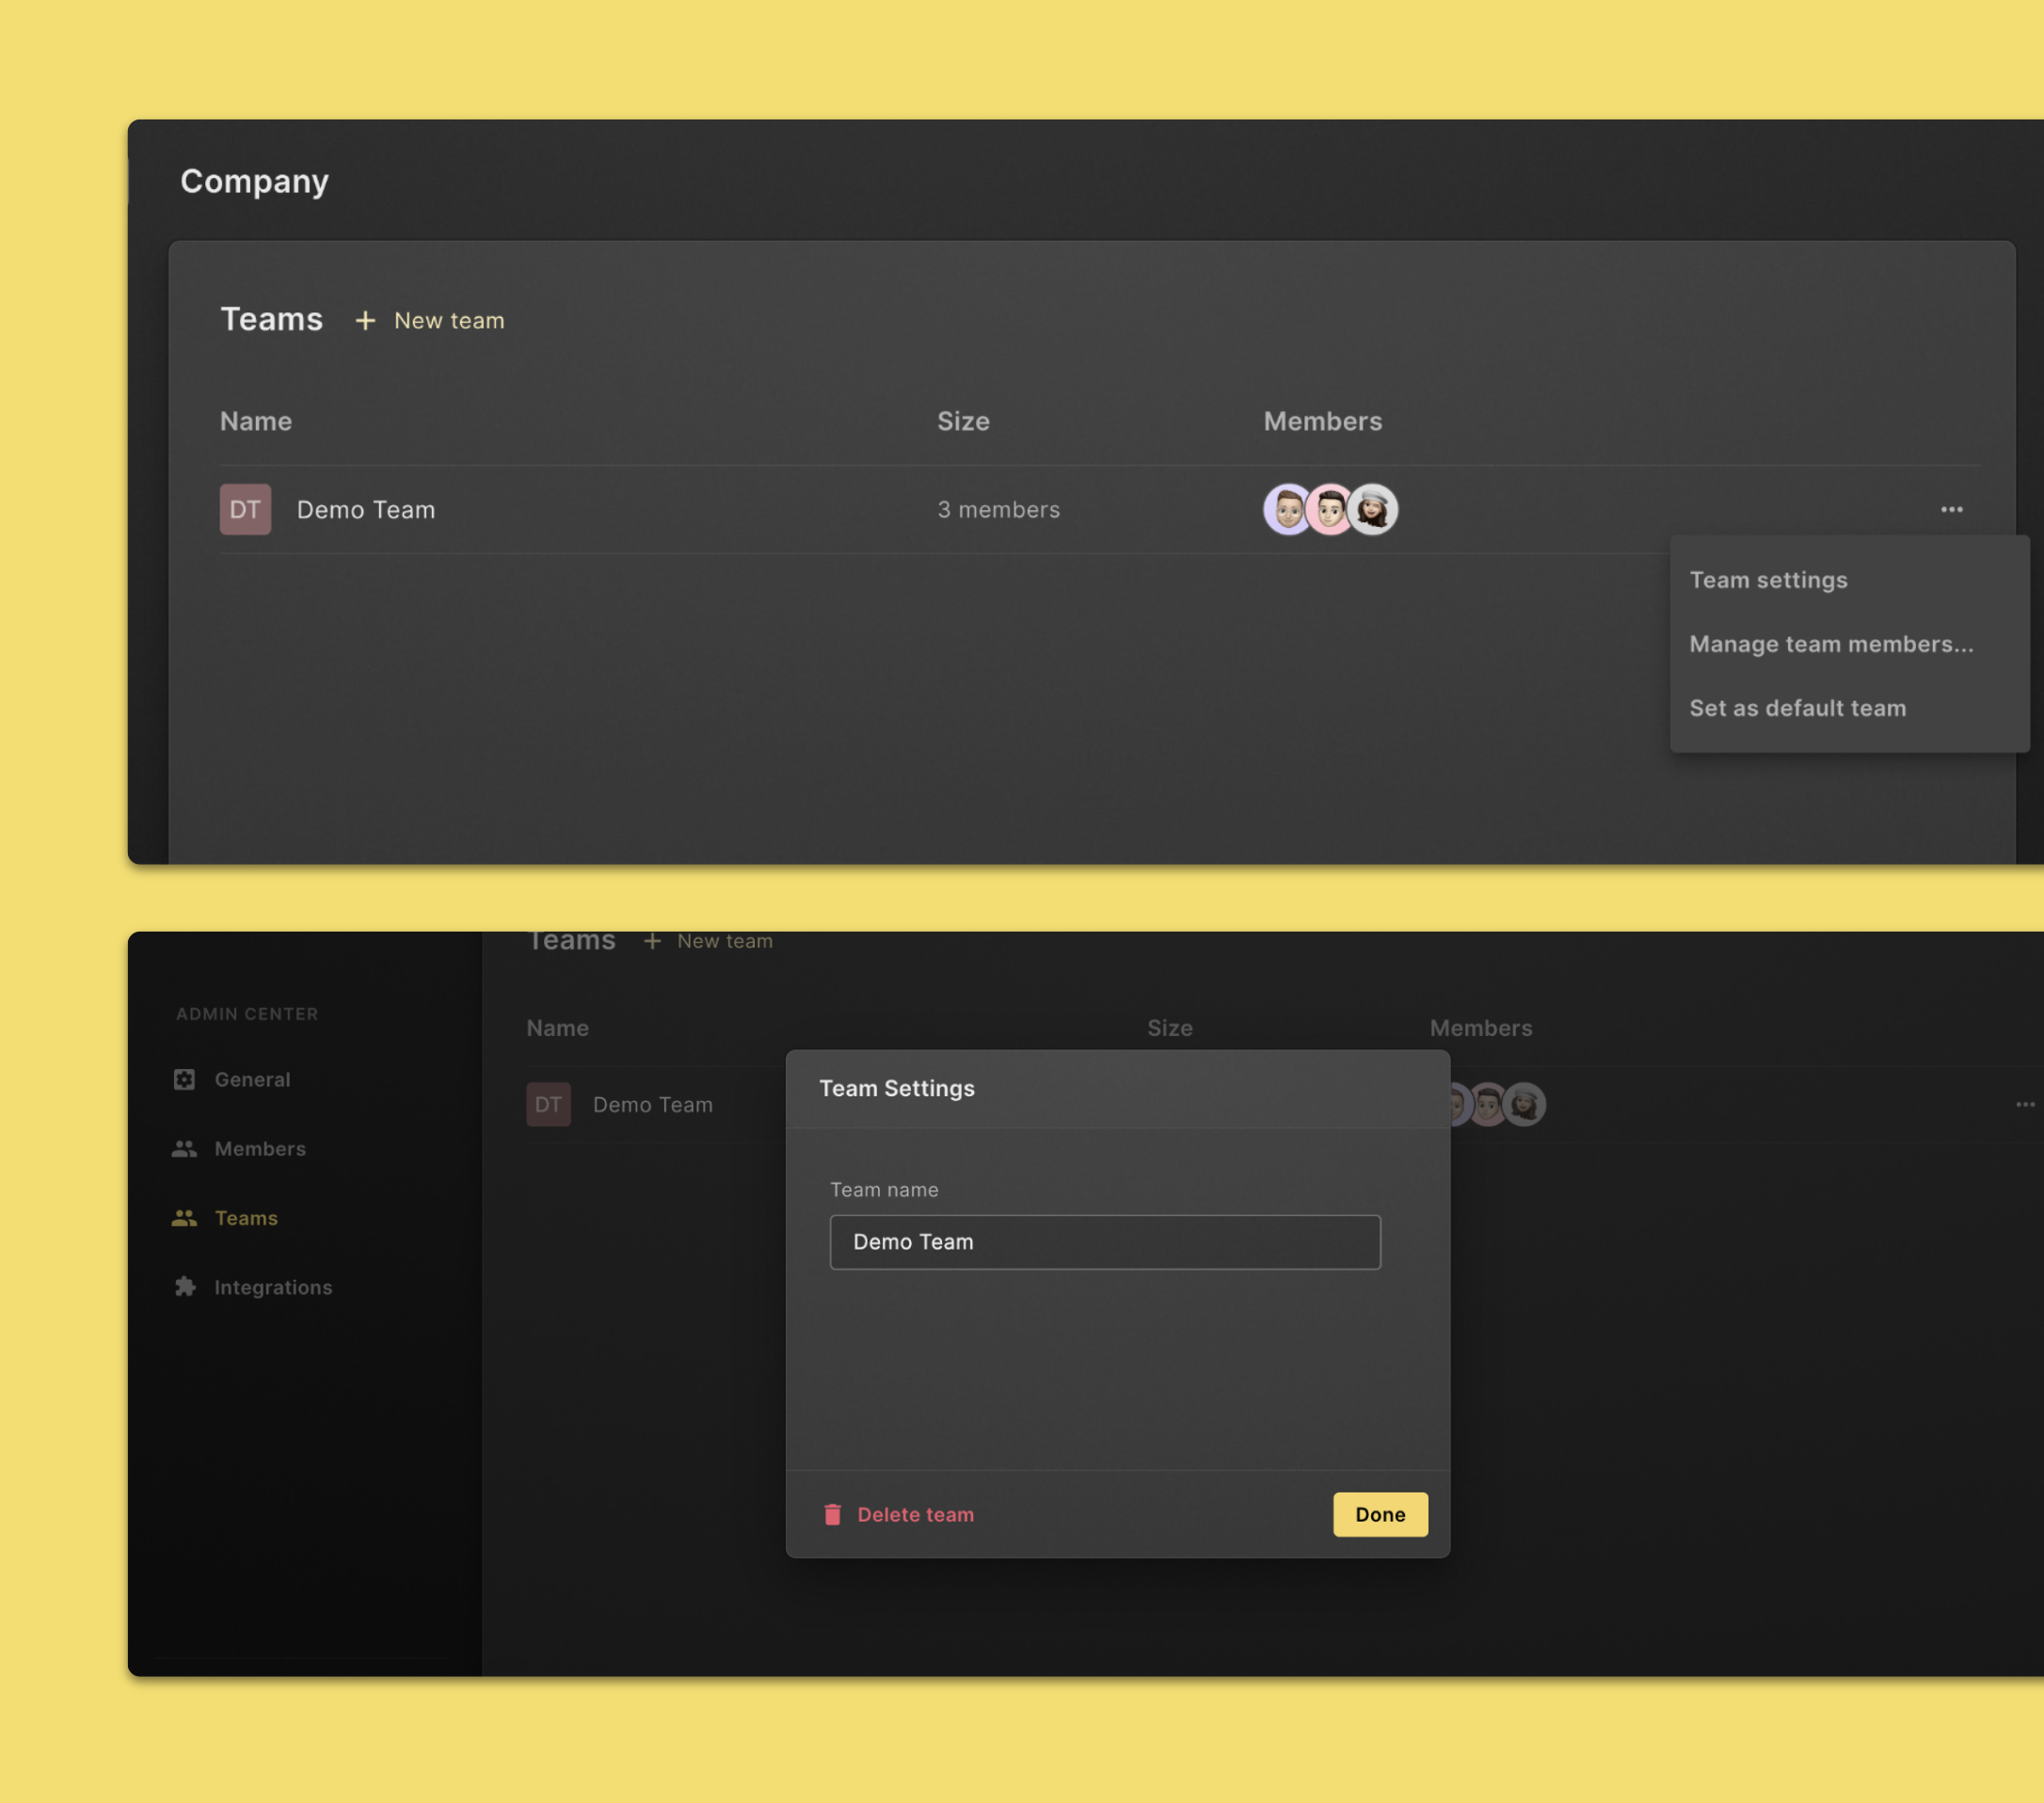
- Click Admin Center in the left navigation sidebar.
- Click Teams in the left navigation sidebar.
- Click on the … icon next to the team you want to edit.
- Click Team settings.
- Click on the Delete team button to finish.
- Click Delete again to confirm.